How to Save a Conference Flyer to Your Calendar
Conference schedules are packed with sessions, rooms, and times. Instead of manually adding each one, photograph the flyer or screenshot the email and let AI extract every session at once.
Photo the Flyer or Screenshot the Email
Got a printed conference schedule? Take a photo with your iPhone camera. Received the agenda by email? Screenshot the relevant part. Even multi-page schedules work -- capture each section and the AI handles the rest. The key is that the image clearly shows session names, dates, and times.

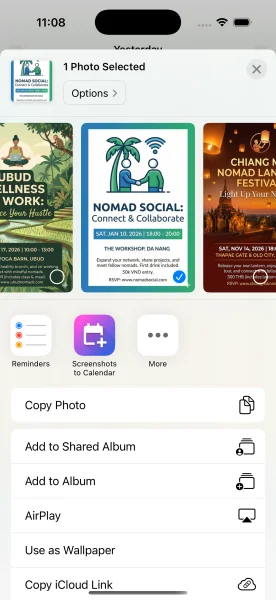
Select Your Image Source
Open Screenshots to Calendar and pick the image from your photo library. If you received the schedule by email, the fastest route is the iOS Share Extension -- tap the share button in your Mail app, choose "Screenshots to Calendar," and the flyer goes straight to extraction without leaving your inbox.
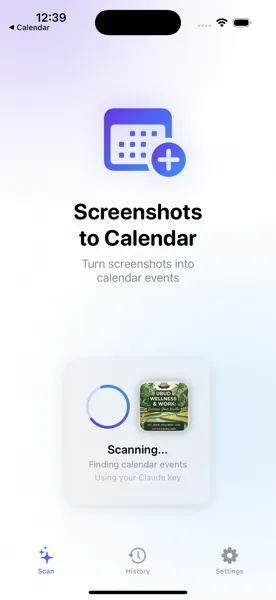
AI Reads the Full Schedule
The AI processes the entire conference schedule and identifies every session. It extracts session titles, start and end times, room numbers, speaker names, and even conference call URLs like Zoom or Teams links. Multi-track schedules with parallel sessions are handled correctly -- each track gets its own event.
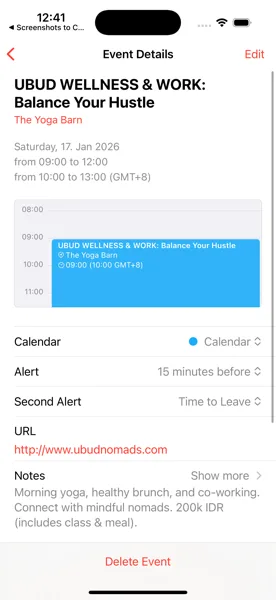
All Sessions Saved to Calendar
Review the list of extracted sessions. Each one shows the session title, time slot, and location. Make quick edits to any session if needed, then save them all at once. Every session becomes its own calendar event, correctly time-slotted and ready to guide you through the conference day.
Tips for Best Results
- Multi-day conferences? All sessions extracted at once -- the AI understands date headers and groups events by day automatically
- Conference URLs (Zoom, Teams, Meet) embedded in the schedule are detected automatically and added as event links
- Works with printed schedules, email attachments, conference app screenshots, and PDF agendas shared in chat
Your Entire Conference in Your Calendar
Download Screenshots to Calendar and never miss a session again.
Download on App Store